
I rinsed off my hands and feet under the hydrant in the school garden. After an afternoon spent planting some green beans, squash and okra with some students, I was tired. I heard footsteps behind me and a voice say “Madam, please, I need your help”.
I turned around to see Baba, one of my students in my class, had stayed behind to talk with me specifically. “What is it?” I asked.
“I want to buy an egg incubator,” he said, “but it’s very costly. Can you help me?”
After quizzing Baba a bit about his plans for his egg incubator, it occurred to me he needed to do his homework and develop a more concrete business plan. One of the biggest challenges Ghanaians face in establishing a new or better business is obtaining capital and agriculture is certainly no exception. I knew what he wanted was for me to put money toward his egg incubator, but I just couldn’t justify doing that if he didn’t have solid plan in place that would allow him to make that money back…and then some. Instead of giving him the money, I gave him an assignment. I asked him to find out the price of an egg incubator, how much fertilized poultry eggs cost in the market, how old he would sell his hatched chicks and for how much. As he walked away, I honestly wondered if he would pursue the project any further.
That next week Baba showed up to my house with a sheet of paper in hand. On it, he had carefully organized the information I had asked for. Needless to say, I was surprised and impressed. But it also posed another problem for me. A big part of AgriCorps work focuses on sustainability. Even with the information that Baba had taken the time to provide me, I wasn’t convinced that buying him an egg incubator would be the most sustainable move. What would happen if the egg incubator broke down? What if the business doesn’t pan out? I knew there had to be another, less expensive route we could take to mediate our risk in getting started in the artificial hatching business.
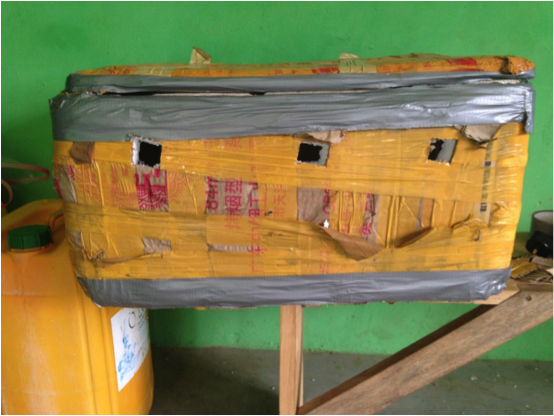
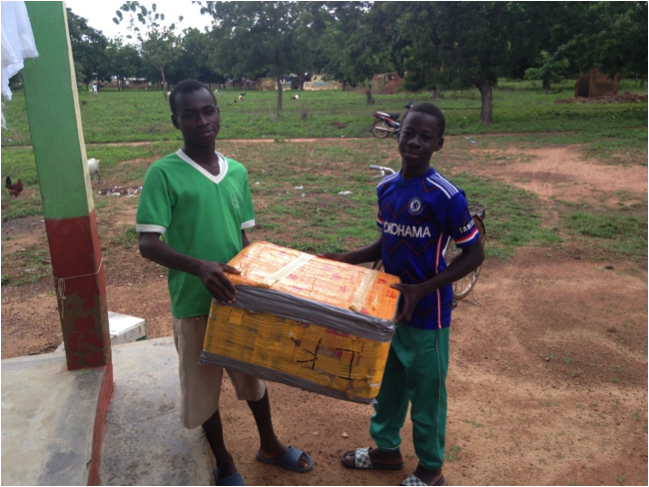
After doing some research, I decided that Baba and I could make a homemade egg incubator ourselves and for a fraction of the cost. After making a list of the items we would need, I sent the list with Baba and we each set out to find these items. Some items, like the heat source, wire, water dishes and sponges were easy to find while others took a little more effort. We spent a couple of weeks trying to find an insulated container of some sort to incubate the eggs. We searched for old, broken down refrigerators and ice chests, but had no luck. Finally, one day when in Accra I saw an old Styrofoam cooler along the side of the road and was able to acquire it for free. I will admit that I got quite a few stares (more than normal) toting this old, beaten up ice chest on top of my head through town. While it’s certainly nothing to look at, it does the job just fine! With all the materials finally acquired, Baba and I set to work to create our own homemade egg incubator and here’s how we did it!
Supplies needed
- Insulated container to incubate eggs (we used an old Styrofoam cooler)
- Wire to set the eggs on so that they will not roll around
- Containers to hold water
- Sponges to put in the water (helps bring the humidity up in the incubator)
- Heat source (we use a 60 watt light bulb, but the wattage may vary depending on the size of your incubator)
- Thermometer and hygrometer
- Fertilized eggs
- Notebook and pen
Step 1: Ventilation
After acquiring the necessary materials Baba and I cut ventilation holes in the Styrofoam cooler. We kept the plugs that we cut out so that if needed we could plug the holes again to better regulate the temperature.
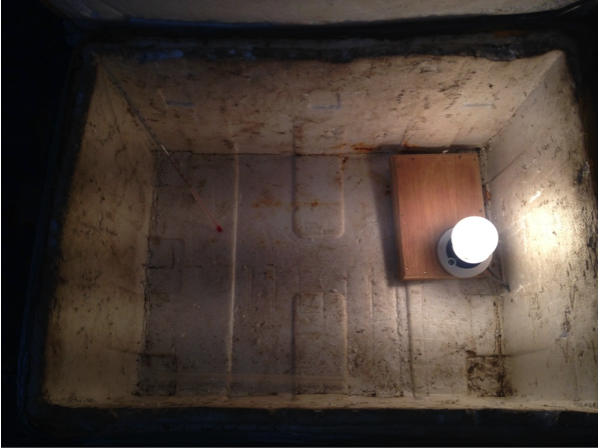
Step 2: Heat
Providing a source of heat within the egg incubator is very important. Luckily Baba knew a thing or two about wiring and was able to get our light bulb properly wired and mounted. We cut a separate slot to insert the light and run the cord out the side of the incubator as opposed to through the top. Baba does his best to keep the egg incubator between 37-40 degrees Celsius at all times, which is no small feat since the power goes out frequently in Ghana. When the power does go out, Baba plugs up the ventilation holes and tries to avoid opening it at all costs. For really long power outages he will put a flashlight inside to bring up the temperature a little bit.
Step 3: Humidity
In addition to heat, maintaining the proper humidity in the egg incubator is also essential. To control humidity we placed some containers with water inside the incubator. Adding sponges to the dish of water increases the surface area and allows for water to evaporate more easily. By simply regulating the water levels in the containers, humidity can be brought up or down. The incubation period of chicken eggs is 21 days. For the first 18 days Baba does his best to keep the humidity between 30-60%. After the 18th day, he brings the humidity up to about 80% so that there is plenty of moisture in the air as the chicks are hatching.
Step 4: Eggs!
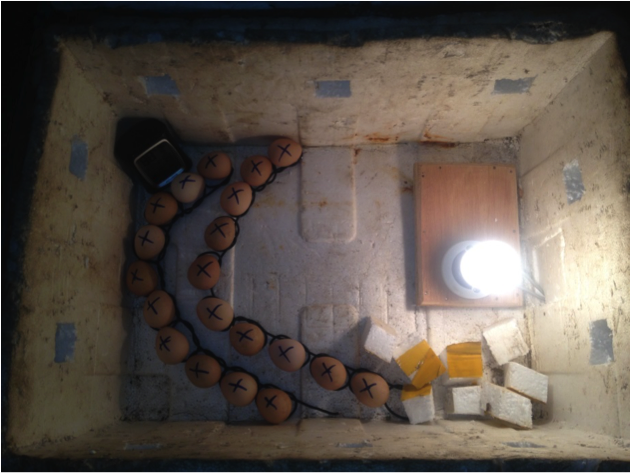
Fertilized eggs proved to be more difficult to find than anticipated. Most poultry are raised extensively here, so it’s often hard to find where the chickens lay their eggs. We searched high and low through our local market to find the fertilized eggs but came up short. Luckily my friend, Zak, found some fertilized guinea fowl eggs for us to try and hatch. We had heard that guinea fowl was a bit more difficult to incubate due to sensitivity, but decided to give it a try anyway. We started out with 20 guinea fowl eggs, but our egg incubator can fit up to 50 eggs at one time.
Step 5: Record keeping and monitoring
Baba and I started a separate notebook for record keeping and monitoring purposes. Many fancy egg incubators have automatic turners that will turn the eggs every few hours. Since we’re not that fancy, Baba turns the eggs a half turn 3-5 times per day so that the eggs never rest on the same side as they did the night before. Turning the eggs an odd number of times each day prevents the chick from “sticking” to one side of the egg and impairing its ability to properly develop. Every time Baba turns the eggs he records the time, temperature of the egg incubator and the number of times he has turned the eggs on that particular day.
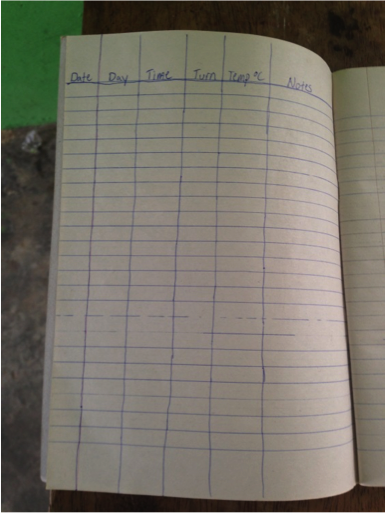
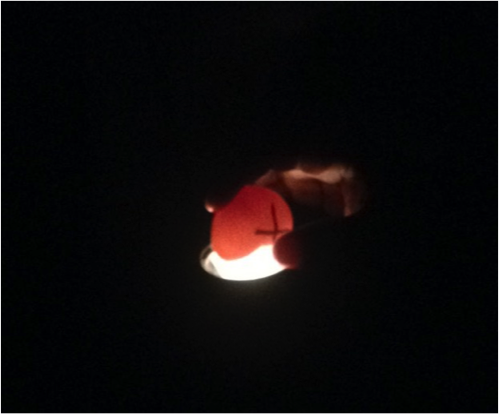
Baba also candles the eggs every few days to monitor the growth of the embryos and better predict when the eggs will actually hatch. He records his observations in the notes section of the records.
Our Results so far: Stay tuned!
We created our egg incubator for under 50 GHC (That’s less than $15), but does it actually work? Good question! Unfortunately we didn’t have the results we had hoped for with the guinea fowl eggs, but we think we know what went wrong. About 13 days into the incubation period the light bulb died in the incubator. Baba bought a new light bulb and replaced it. Unfortunately he wasn’t aware that we had been using a 60 watt bulb, so he put a 100 watt bulb inside. As you can imagine, the temperature of the egg incubator got way too high. As we continued to candle the guinea fowl eggs thereafter, it seemed that they stopped growing and maturing after the temperature had become too high. But you know what they say, if at first you don’t succeed…try, try again! And that’s just what we intend to do!
Currently we are incubating 17 chicken eggs and anticipate them to hatch within the next week and a half. Baba has become quite the expert in regulating the temperature of the incubator and regularly candles his eggs. We are hoping for a high hatching rate this time around, but time will tell!
Regardless of the outcome, many things have been learned with this project. Baba has gained a greater sense of the importance of good record keeping, something that is not frequently done with farmers in Ghana. Most importantly, we have both learned how to become better creative problem solvers. With very small capital involved, we have created an incubator that has the potential to allow Baba to hatch up to 50 chicks at one time. Sometimes it’s not about the destination, but the journey you take to get there instead.
Sarah Tweeten is an Agricultural Communications graduate from Iowa State University. Before becoming an AgriCorps Member, Sarah studied agriculture in Panama and worked with Iowa State Extension and 4-H.